
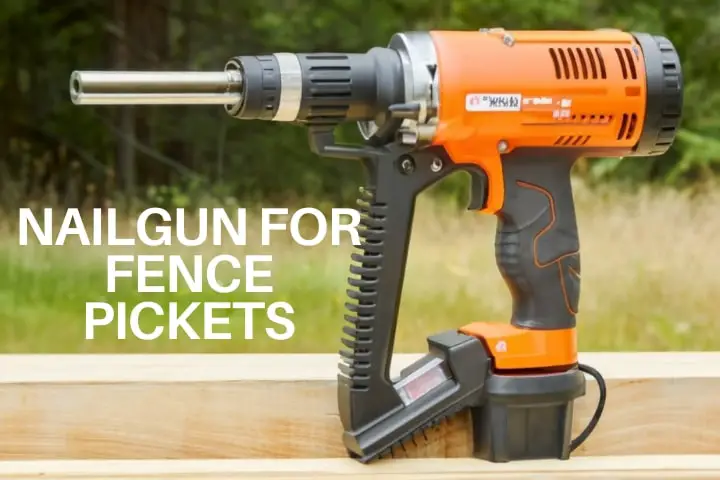
Have you ever thought of building a good-grade fence using a nail gun? If yes, this article might change your concept of building stuff using nail guns. Making fences using a nail gun seems a lot easier, but it’s way too hectic if you don’t know what to do, what to do, and when to do it.
Okay, no worries. I will discuss the best nail gun for fence pickets in this article. Here, you will learn how to install fences using nail guns. Will share some of the best nail gun types and how to choose the best nail gun for your preferred work.
However, let’s move on and jump right into the core, mate; what say?
Table of Contents
What is Fence Pickets?
To construct a durable fence, the primary thing that you may need is fence pickets. Well, it’s no rocket science but some narrow, typically rectangular pieces of wood that adequately support the fence structure. Along with support, fence pickets are capable of providing safety, security, and aesthetic enhancement to the property.
These fence pickets come in various sizes, styles, and materials. You can install it horizontally or vertically based on the user intent. In either case, you will find that the pickets provide consistent support to the material you’re installing. However, always be safe while choosing the pickets because the types of pickets and their selection will play a significant role when you’re installing stuff.
Building Fence With Nail Gun [Step-by-Step Guide]
You can build a good-grade fence using the nail gun beside your hand. In this directory, I will provide you with every piece of knowledge regarding this installation, which will help you enormously. However, put all your concentration right here and do not miss out on any single instructions. Voila!
Before you dive deep, you have to get some stuff that will get used during the installation:
Required Tools:
- Wooden fence posts
- Fence pickets
- A cordless or pneumatic Nail Gun
- Nails that go with the nail gun (check the compatibility chart for this)
- Measuring tape
- Saw
- Post-hole digger (auger)
- String line
- Concrete mix
Alright, these are the prerequisites you must have if you plan to install a fence using a nail gun. Nonetheless, I am about to jump off to the core. And from here, I will be delivering my instruction step-wise. So, be careful and do not miss out on any single step. If you do, you may not get to the next step. Let’s hit the nail on the head; what say?
- Planning and Marking
In the very first place, determine the fence layout and mark the positions you would like to use the fence posts on. Use stakes and string lines to ensure straight lines and precise alignment. If you’re a professional, you might not require extra tools to fix the alignments, it’s for newbies.
Next up, mark the locations for the post holes, spacing them according to your design and the specific building codes of your region. Typically it stays between 6-8 feet between two posts.
- Digging Post Holes
It’s time to dig a bit. Use a post-hole digger to dig holes at least one-third the height of the fence posts you would like to install. The exact size will depend on the size of your posts. Also, the soil conditions of that area may change things brutally.
If you’re done with this, it’s time to add a few inches of gravel to the bottom of each hole for drainage. This will provide proper ventilation for anything which would like to flow under your fence.
- Setting Fence Posts
Now, place the fence posts in the holes and use a level to ensure they are plum and level. Have a helper hold the post in the position when you check and adjust.
- Securing Posts
Mix the concrete according to the manufacturer’s instructions and fill the holes around the posts. Use a piece of wood to tamp down the concrete and remove air bubbles. Removing air bubbles is way too crucial though it never feels the same. If there are air bubbles, the mix may lack adequate strength, and the entire setup will completely be detrimental.
After you are done, check the post for plumb and level before the concrete sets. Allow the concrete to cure as per the manufacturer’s recommendations.
- Attaching Rails
Once the posts are set and the concrete is cured, attach the horizontal fence rails to the posts using the nail gun. Make sure to put the nail guns at a definite height. You can use a level to maintain a precise horizontal level to ensure things.
- Attaching Pickets
This is the most vital issue of all. In this portion, you have to attach the fence pickets. You already know what fence pickets are, don’t you?
Well, first of all, you have to position the fence pickets between the rails. Depending on your design, you may want to leave gaps between the pickets for air circulation or privacy. You can use the nail gun to attach the pickets to the rails. Drive nails through the pickets into the rails, ensuring they are secure.
- Finishing Touches
You are all set. Now, it’s time to put the cherry on top. Trim any excess length from the pickets if needed. Or you can add any additional rails or decorative elements as desired. There’s that!
However, sticking to the manufacturer’s guidelines is always recommended because it covers a policy. Even if you make things go wrong while installing, you can claim a specific warranty from the manufacturer. So, it’s always on the safe side.
Type of Nail Gun For Fence
When constructing fences, consider using nailers of a very distinctive choice. In this segment, I will briefly describe the selection of nail guns that will provide ease while conducting the installation. Here’s to the best type of nail gun for installing fences:
Pneumatic Framing Nailer
A pneumatic framing nailer will be your best companion for constructing a wooden fence. These nail guns attach more prominent structural elements to the fence, like the posts or the rails.
However, pneumatic nailers are way more powerful than regular nailers and can handle large-sized nails. After all, if your fence construction is heavy, you can keep this in your choice.
Pneumatic Finish Nailer
Like the previous one, this nailer also comes in help when the surface of your fence is wooden. However, the functional attribute is not the same as the other one. If you want to introduce small and delicate objects, you can use this finish nailer.
It uses comparatively smaller nails and provides a better finish. For low-key operations, you can consider this.
Brad Nailers
In terms of functionality, Brad nailers are similar to pneumatic finish nailers. As in, it uses smaller nails to operate and can be used to attach delicate objects to the fence. Such as trim or other smaller objects to the wooden fence.
Gas Powered Concrete Nailers
Last but not least, if you are planning to construct a concrete fence, this may help you enormously. To drive nails into concrete or masonry, gas-powered concrete nailers are very useful and efficient.
That’s the end. Make sure you know about the type of nailer before jumping right into the ground.
How We Choose The Best Nail Guns for Fencing
To choose the right nail gun for fencing, you must have to consider some very important things. In this portion, I will make your concept crystal-like clear, making your work a lot easier. Let’s jump in-
- Understanding Your Fencing Project
In the very first place, determine what type of fence you are constructing. If it’s wooden, vinyl or metal. Based on the project, you have to modify the selection of your nail gun.
And make sure to consider the size of your project. If you’re working on a DIY project, you may go away using a less-powered nail gun very efficiently. But things may require more precision if you’re working on an industrial project. I hope you get my point.
- Nail Gun Type
Now you can select the perfect nail gun depending on the intensity of work and other perks. Selecting the nail gun is one of the most important moves you can ever make while constructing fences. If you perform poorly here, the overall performance will be degraded leaving you in an utter mess.
- Nail Types
Always go for compatible nail types while you work with nailers. If the nail doesn’t go with the gun, then check the manufacturer’s manual to get the right-sized nails. This way, you will be much more efficient.
These are the primary conditions for choosing the right nail gun for fencing construction.
FAQ
Can I use 18 gauge nails for fencing?
Ans: You can use 18-gauge nail guns for certain types of fencing applications. Typically, 18-gauge nails are superior and can be introduced to any nail gun. These provide a lot of ease when it comes to fencing or other heavy-duty jobs.
Can I use a framing nailer for fence pickets?
Ans: It’s not recommended. Framing nailers are way too powerful and may damage or split the pickets. You can use a finish nailer or a brad nailer for better results.
What PSI needed for the nail gun for a fence?
Ans: It depends. Depends upon some crucial factors. Like what type of nail gun you’re using and others.
However, typically 70-120 PSI nail guns are used to build fences.
How long should fence nails be?
Ans: Nails around 1.5 to 2 inches in length are commonly used for attaching typical wooden fence pickets to wooden rails. For more substantial components like fence posts or structural elements, longer nails or screws may be required, typically ranging from 2.5 to 3.5 inches.
What’s better, nails or screws, for the fence?
Ans: Nails are faster but may not be as durable. Screws offer stronger and longer-lasting connections. Use nails for lighter elements, screws for heavier and structural parts, or both for optimal results.
Conclusion
Alright, mate. We have come to the verge of this article. Till now, we have learned about the best nail gun for fence pickets. Illustrated some very crucial steps about the installation of fence using a nail gun and a lot more things. Reread the article anytime if you feel confused about anything. And do not hesitate to refer this article to your friends and mates.
That’s a wrap!
GO NUTS!